
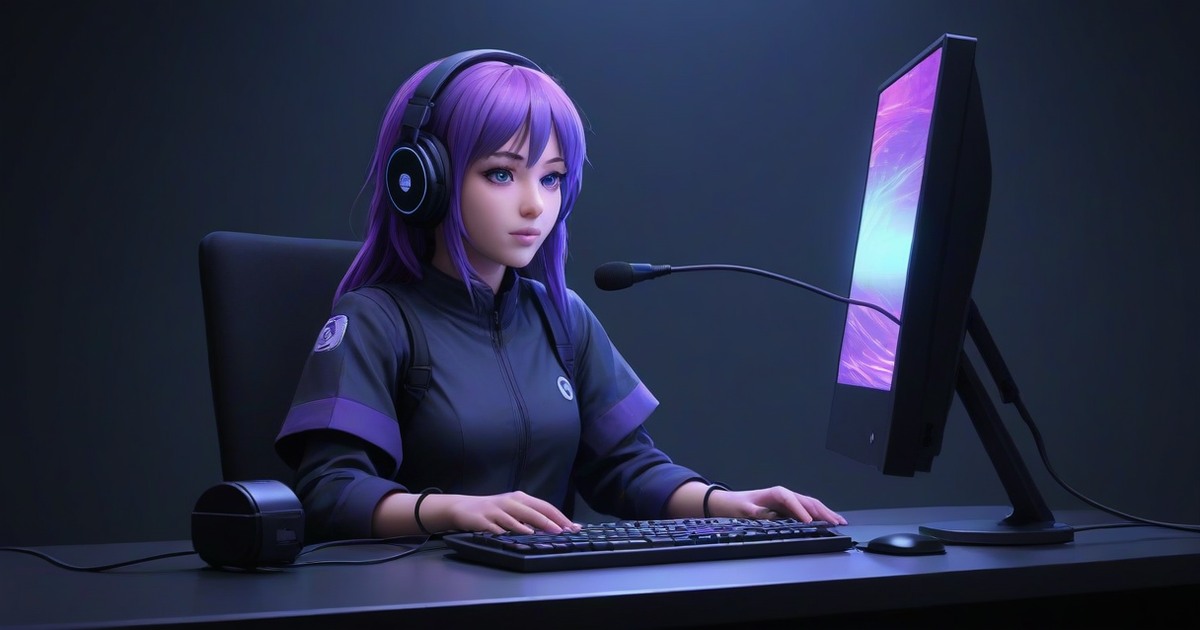
Your PNGTuber should open its mouth when you speak, not when a fan spins up, a key bottoms out, or somebody closes a door in the next room. If the avatar keeps talking by itself, the microphone sensitivity is usually too aggressive for the room and mic position.
The fix is not one magic slider value. Your voice level, background noise, microphone, operating-system gain, and distance from the mic all affect the signal. A stable setup comes from finding the noise floor first, then placing the activation point above it while leaving enough room for quiet speech.
What the microphone threshold controls
Veadotube mini switches between quiet and talking behavior based on the selected microphone input. Its official mini usage guide says the microphone sensitivity control sets how loud the input must be to activate an open-mouth state. The same section covers choosing the microphone, noise filtering, and push-to-talk.
People often call this setting a threshold even when the app labels it sensitivity. The practical question is the same: how much incoming sound should count as speech?
Set it too easily and the mouth opens for room noise. Set it too strictly and soft words, sentence endings, and consonants disappear. You are looking for a middle point that suits your normal speaking voice rather than the loudest test sound you can make.
Start with the correct microphone
Before tuning anything, confirm that Veadotube mini is listening to the input you intend to use. Laptops and webcams often add their own microphones, and a virtual audio device may appear beside the physical mic. Adjusting sensitivity on the wrong input wastes time and can produce confusing results.
Speak near your chosen microphone, then tap or lightly scratch its body. The level response should clearly follow that device. If it does not, select the correct input in the app and test again.
Keep the operating-system input gain at the level you plan to use on stream. Changing it later changes the signal that reaches the avatar app, so the threshold you tuned today may no longer work tomorrow.
Measure your real noise floor
Sit as you would during a stream and stay quiet for ten seconds. Leave the computer, fan, air conditioner, and normal room equipment running. Type a short sentence, click the mouse, and move in your chair. This is the background your setup must tolerate.
Watch the avatar rather than chasing a number. If those ordinary sounds trigger the talking state, move the activation point away from them in small steps. Test after every change. Large jumps can solve false activation while making normal speech unreliable.
Do not create an unrealistically silent test. Turning off every fan and sitting perfectly still gives you a setting that may fail once a game loads and the room warms up. Tune under the conditions you actually expect.
Test soft, normal, and excited speech
Once the idle state stays quiet, read the same two or three sentences three ways: softly, at your normal volume, and with the louder voice you use during an exciting moment. Normal speech should activate the mouth consistently. Soft speech may be less perfect, but it should not vanish completely.
Listen for sentence endings. They are often quieter than the first few words, so an overly strict setting makes the avatar stop talking before you do. Short consonants can expose the same problem. If the mouth looks choppy, ease the setting back slightly and repeat the test.
Then stop speaking between phrases. The avatar should settle into its quiet state instead of fluttering open and closed. A little movement can feel natural; constant flicker does not.
Fix the signal before forcing the slider
A threshold cannot separate two sounds that arrive at nearly the same level. If your keyboard is as loud as your voice at the microphone, improve the physical setup first.
- Move the microphone closer to your mouth and lower its gain if needed.
- Aim the mic according to its pickup direction rather than speaking into the wrong side.
- Move the keyboard farther away or place the microphone so the keyboard sits in a less sensitive direction.
- Reduce steady fan noise where practical, but do not block computer ventilation.
These changes increase the difference between speech and noise. That gives the sensitivity control room to work. The Veadotube troubleshooting page also notes that noise can be filtered and points users back to the app’s microphone controls. Treat filtering as cleanup, not a substitute for sensible mic placement.
Use noise filtering carefully
Noise filtering can help with steady sounds such as a fan or low room hum. It is less reliable for sudden sounds that resemble speech in level or frequency, including mechanical keys, desk bumps, and nearby conversations.
Apply only enough filtering to make the setup stable. Heavy processing can clip quiet syllables or make activation feel delayed. Because filters also use processing power, test them while your normal streaming apps are open rather than in an empty desktop session.
If you use noise suppression elsewhere in your audio chain, remember that Veadotube mini may still be listening directly to the unprocessed microphone. The clean audio heard by viewers and the signal driving the avatar are not automatically the same route.
Record a short private test
A live preview is useful, but a recording shows whether the mouth movement feels believable at normal viewing speed. Record about a minute with silence, typing, ordinary speech, a laugh, and a few quieter sentence endings.
Review the clip at its final size. Check for three failures: movement during silence, missed words, and rapid flicker between states. Change one setting at a time, then record again. If you also need to confirm capture and transparency, follow the PNGTuber setup for OBS.
Save the working configuration once the test passes. A future microphone change, a different USB port, or a new input gain may require another short calibration.
A quick tuning order
- Select the correct microphone.
- Set the input gain and mic position you will actually use.
- Observe ten seconds of realistic room and desk noise.
- Adjust sensitivity until that noise no longer triggers speech.
- Test soft, normal, and excited voice levels.
- Record a short clip and correct false movement or missed words.
If you still need the four matching avatar states, create them with the free PNGTuber maker, then use the Veadotube mini setup guide to load and test them.
FAQ about PNGTuber microphone sensitivity
Why does my PNGTuber talk when I type?
The keyboard noise is crossing the microphone activation point. Move the mic closer to your mouth, place the keyboard farther from its sensitive side, and adjust the sensitivity in small steps until typing stays below activation.
Why does the mouth stop before I finish a sentence?
Your final words are probably falling below the activation point. Make the setting slightly more sensitive, keep a consistent mic distance, and test quiet sentence endings again.
Should I use push-to-talk instead?
Push-to-talk can be useful in a noisy room, and Veadotube mini supports a shortcut for it. It adds another control to manage, so test the key for conflicts with OBS, games, and other shortcuts before streaming.
Do I need to recalibrate after changing microphones?
Yes. Microphones and input gains produce different levels. Repeat the noise-floor and speech tests whenever you change the device, gain, placement, or room.