
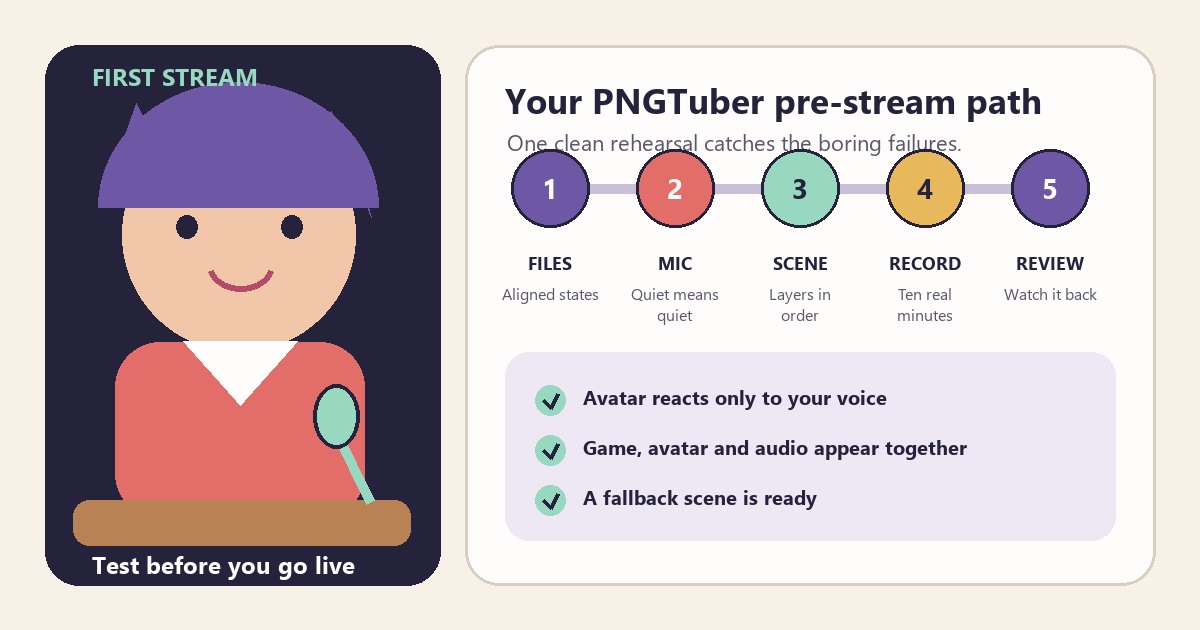
Your first PNGTuber stream does not need a complicated launch plan. It needs one quiet test where you catch the boring problems before an audience does: the wrong image assigned to a state, a microphone that triggers on keyboard taps, an avatar hidden behind a game capture, or an OBS scene that was never recorded all the way through.
This checklist starts after your character files are finished. If you still need the avatar itself, use the free PNGTuber maker first. If the terms and basic workflow are new to you, read what a PNGTuber is and how the four core states work.
1. Put the final avatar files in one clean folder
Make a folder for the version you will actually stream with. Keep the idle, talking, blinking, and talking-plus-blinking images together. Open each PNG at full size and check that transparency is intact, the canvas dimensions match, and the character sits in the same position. Small shifts between files look like a jump or shake whenever the state changes.
Use names you can understand under pressure. Something like idle.png, talk.png, blink.png, and talk-blink.png is less charming than a folder full of creative names, but much easier to repair five minutes before a show. Keep source art elsewhere so you do not select a layered work file by mistake.
2. Load every state and test the microphone response
Assign the four images in your reactive avatar app, then speak at the volume you expect to use on stream. Test a normal sentence, a quiet sentence, a laugh, and a few seconds of silence. The avatar should open its mouth when you speak and settle when you stop.
Now type, click the mouse, move your chair, and let any nearby fan run. If those sounds trigger the talking state, adjust the app’s microphone threshold rather than trying to stay unnaturally still for an hour. A room has a noise floor, and that floor can change when a game makes the laptop work harder or a fan switches on.
Do not chase a perfect number copied from somebody else’s setup. Microphone gain, distance, room noise, and voice level all differ. The useful threshold is the one that reacts to your quieter speech without treating the keyboard as dialogue. The Veadotube Mini setup guide covers the state assignment and microphone test in more detail.
3. Build the smallest OBS scene that can prove the setup
For the first test, you only need the content viewers should see, the avatar capture, and the audio you intend to use. Add alerts, chat boxes, decorative frames, and extra effects later. Every extra source gives you another place to hide the character, capture the wrong window, or waste time looking for a problem.
Place the avatar where it does not cover information you need during normal play. Check the corners, menus, subtitles, health bars, and any game-specific prompts. A layout that looks fine over a title screen may become unusable once the interface appears.
OBS recommends running its Auto-Configuration Wizard, adding sources, checking audio, and testing the settings before a first stream in its official Quick Start Guide. Those steps are a sensible baseline, but the wizard cannot decide where your avatar belongs or whether its expressions read clearly.
4. Check the layer order and the full range of motion
In the OBS Sources list, make sure the avatar sits above the background or game capture it should overlap. If it vanishes, the source may simply be underneath an opaque layer. If the capture has an unwanted rectangle behind it, revisit the capture method or transparency settings rather than cropping tightly around the character and hoping it stays still.
Talk, blink, and move through every state while watching the composed OBS canvas, not only the avatar app. Look for clipped hair, accessories outside the frame, a mouth that becomes too small to notice, and state changes that shift the whole body. The dedicated PNGTuber-to-OBS guide explains common capture routes and their limits.
5. Record ten minutes locally
A local recording is the safest rehearsal because it shows what OBS produces without sending an unfinished show to a channel. Record a realistic ten-minute sample. Speak at normal volume, pause, type, open a busy game scene, switch scenes once, and trigger any alert you plan to keep.
Then stop and watch the file from the beginning with headphones. Do not scrub through it at double speed. You are listening for clipped speech, game audio that buries the voice, long false mouth movements, silent sections, and sudden level changes. You are also checking the visual result for bad crops, unreadable expressions, accidental private windows, and dropped or frozen capture.
If the recording stutters, use OBS’s statistics and logs to investigate before buying hardware. Lowering complexity can help, but guessing at random settings makes it hard to know what fixed the problem.
6. Prepare one simple fallback
Save a static image or a basic talking state that you can place on screen if the reactive setup stops working. Keep a short break scene ready as well. A fallback does not need animation. It only needs to let you continue speaking while you decide whether the original problem is worth fixing live.
Also confirm that the avatar folder, app configuration, and OBS scene collection are stored somewhere you can recover. A copy on the same drive protects against an accidental edit, but it does not protect against that drive failing. For a first stream, even a dated copy on another drive or trusted storage service is better than rebuilding from memory.
7. Run the final two-minute check
- Open the exact OBS scene you plan to use.
- Confirm the intended microphone and desktop audio meters move.
- Say one sentence quietly and one at normal volume.
- Check that all four core avatar states appear correctly.
- Scan the frame for private windows, notifications, and hidden sources.
- Make a short recording and play it back.
- Keep the fallback image or break scene within easy reach.
Once those checks pass, stop rebuilding the scene. A modest setup that you have watched and heard end to end is more dependable than a crowded one assembled just before the stream.
After the stream: review, archive and improve
Do not rebuild the setup from memory after the broadcast. A short review gives you a useful baseline for the next stream and helps you separate an avatar problem from an audio, capture or scene problem.
Review the recording at normal viewing size
Watch the opening, one active section and the ending instead of replaying the whole broadcast immediately. Use headphones and view the recording at roughly the size your audience saw it. Note timestamps for delayed mouth changes, accidental blinking, clipped audio, hidden layers, bad cropping or visible app controls.
If you streamed on Twitch and saved a broadcast, use the official Video on Demand help page to find the current VOD controls. Twitch retention and visibility rules can change, so do not rely on an old storage-duration figure.
Keep a short issue log
Record only the problems that affected the viewer. For each one, write the timestamp, what happened, the likely part of the setup and one test for next time. Three specific notes are more useful than a long list of vague improvements.
- Timestamp: where the problem is visible or audible.
- Symptom: what the audience experienced.
- Likely source: avatar state, microphone, capture source or scene layer.
- Next test: one small change that can confirm the cause.
Archive the working setup before changing it
Copy the four final PNG states and the working .veadomini file into a dated folder. Keep this known-good version separate from future edits. In OBS, export the active profile and scene collection from their respective menus, then store those files with your stream notes.
Treat OBS exports as private configuration files. They can include service or account-related settings, so do not upload them publicly or place them in a shared download folder without checking the contents.
Change one variable at a time
Fix the highest-impact issue first, record a 30-second local test and compare it with the timestamped example. Changing the microphone threshold, avatar files, capture method and scene layout together makes it difficult to know which adjustment worked.
Save one useful reference clip
Keep a short example of the avatar working well and, when helpful, one clip showing the problem. Twitch documents its current tools on the official Clips help page and Highlights and Stream Markers page. A small reference clip makes the next pre-stream comparison faster than reopening a full broadcast.
Frequently asked questions
Do I need all four PNGTuber states for my first stream?
No. An idle image and a talking image can work for a basic debut. Blinking states add life, but they should not delay the stream if the two core images are aligned and readable.
Should I test by going live on my channel?
A local OBS recording is enough for the first visual and audio check. If your platform offers a private or restricted test option, you can use it for the delivery path later, but privacy controls differ by service and can change.
How long should a PNGTuber stream test take?
Ten recorded minutes usually exposes obvious microphone triggers, crop problems, layer mistakes, and audio imbalance. Spend longer only when you are testing scene changes, demanding games, or a setup that behaves differently after the computer warms up.
Need an avatar pack before you can run the checklist? Create your PNGTuber states in the browser, download the files, and return to the folder check at the top.